Rails Dev Environment Setup
Before we can build our app, we need a suitable environment to work in - this will generally take the form of either some kind of virtual machine or using Docker. There are a number of ways we can get this set up depending on your local workstation’s resources and how you prefer to work:
-
One of the easier / less resource intensive options will be to use an online IDE, meaning you won’t have to host anything on your local machine. I quite like https://codeanywhere.com/, which you can use your Google account to access for free (because you definitely have a Google account, don't you?).
Once signed up and on your Dashboard click New Container, give it a name and search for the Ruby stack, select it and hit OK. -
My overall recommended option for new starters is to start from scratch and create a virtual machine of a nicer Linux distribution - Ubuntu being a prime recommendation. Your workstation will need to be packing a little bit of muscle to make this work, but it will allow you to develop your application in a contained environment.
Simply install a VM client (such as Virtualbox) on your local machine and download a.isofile for the latest LTS Ubuntu release (22.04 at time of writing, available here). When you start the VM it will ask you for the file path of the.isofile, after which the installer wizard will start and you just need to follow its instructions. -
Alternatively you fancy a bit more of a challenge but don’t have the computing power necessary to run your own local VM. You can therefore use your Google account again to spin one up in Google Compute Engine (GCE). The trial for this platform gives you $300 of resource to use over 90 days, which is more than enough to complete this and have a bit of a play afterwards - just make sure you turn the machine off when it isn’t in use!
This blog also contains a handy little guide to get yourself set up with a GCE VM, which you can view here. -
An alternative option if you are already running a Linux workstation is to develop and run your app directly on your machine. This is not something I would generally recommend, but is an available option in pinch if you're just running a geriatric laptop.
-
Possibly the most advanced option will be creating your application inside a Docker container and using
docker-composeto develop inside it from your own workstation. This has many benefits, marrying the convenience of developing on your workstation with the safety of an sandboxed environment similar to a VM.
This is not recommended for absolute beginners. However, if you are experienced, interested and / or brave enough, my instructions on how to set this up can be found here.
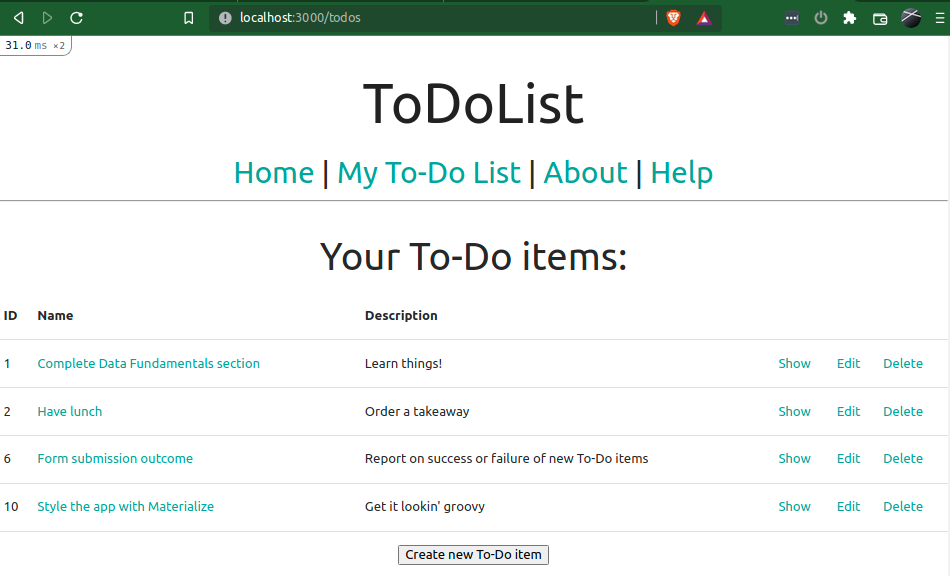
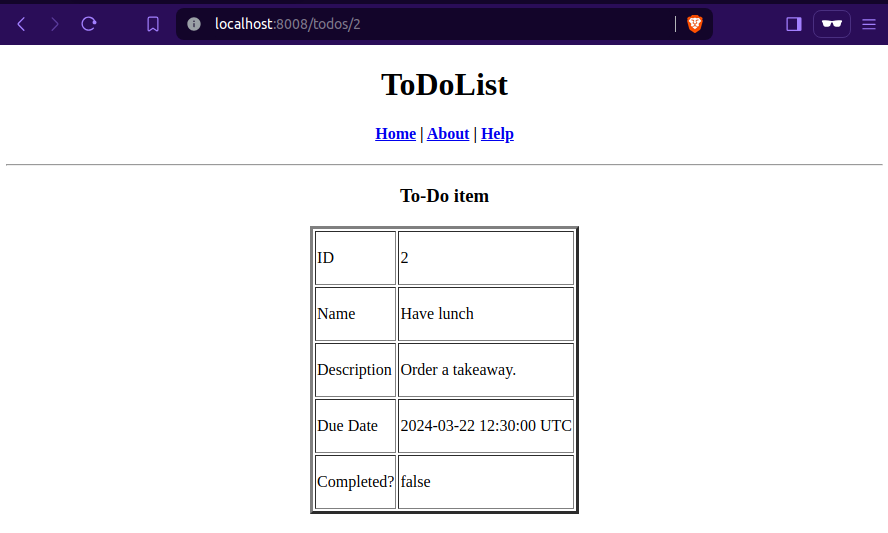
For the purposes of this guide, we will start by developing our web app inside a VM running Ubuntu 22.04 until it reaches a point of reasonable usability and beauty. Once this is complete and you hopefully have a bit of confidence in your abilities, we will go through how to Dockerise our application (this is how I learned, if that wasn't obvious).
Once your basic VM is up and running and the OS is installed, we’ll need to make sure it is up-to-date with the latest base packages and then install the new packages we need to actually develop our Rails app:
-
Ensure you have all repositories enabled in apt - your
/etc/apt/sources.listshould look something like:/etc/apt/sources.listdeb http://archive.ubuntu.com/ubuntu/ jammy main restricted universe multiverse deb http://archive.ubuntu.com/ubuntu/ jammy-updates main restricted universe multiverse deb http://archive.ubuntu.com/ubuntu/ jammy-backports main restricted universe multiverse deb http://archive.canonical.com/ubuntu jammy partner deb http://security.ubuntu.com/ubuntu jammy-security main restricted universe multiverse -
Now update the apt cache to include these repos and upgrade our base packages:
$ sudo apt update ## refresh packages in cache, identify which available to upgrade $ sudo apt upgrade -y ## grab updated versions of already installed packages -
With this done we’re ready to grab the packages we need to develop:
$ sudo apt install git-core curl build-essential openssh-client  ## version mgmt and other essentials
$ sudo apt install ruby ruby-dev                                 ## guide built with v3.3.0
$ sudo gem install rails                                         ## guide built with ‘-v 7.1.3.2’
$ sudo apt install libsqlite3-dev sqlite3 postgresql libpq-dev   ## database dependencies
$ sudo apt install ruby-bundler nodejs npm g++ yarn yarnpkg      ## ruby gems & JS dependencies
$ sudo npm install --global n yarn                               ## need node’s version manager and yarn release
With this all set up, we are now essentially ready to get started. However before we dive in, there is just one more thing we need to get configured that is arguably as important as the app itself; version control.
| < Rails Application Overview | | | Version Control > |
| Back | ||

Comments
Post a Comment