New Rails Apps with Docker Compose
Following on from the Docker & docker-compose guides,
it is possible to use docker-compose to build a Rails application that uses a PostgreSQL database without even installing Ruby on your local machine by instead using containers!
This becomes a very useful option to have if you work from many different workstations and don't want to ensure they are all equipped with the correct Ruby and Rails dependencies, or if you wish to use a version of
Ruby / Rails not supported by your operating system (for example, Ubuntu 20.04 only allows provides up to Ruby 2.7 in its apt cache).
In fact, Rails 7 added native support for Docker, such that it generates almost all of the default files we need for us!
This comes with its problems and, I won't lie, updating this post to work with Rails 7 (it was previously written for Rails 6) has been a colossal pain and features a bit of hackery.
However it is ultimately a good thing, and having Rails do more of the work for us is definitely a net positive!
This section will therefore create a new Rails app, which we will lovingly call dockerific_rails_app, purely inside Docker containers,
using the very latest options available to us at time of writing:
As mentioned before, all we need to get started are the necessary Docker packages, the Git packages and a text editor so we can build our initial config files and then develop the application afterwards.
This will be different for each operating system and, as always, we will focus on the Ubuntu/Linux way of achieving this - Google will provide installation instructions for other OS's:
$ sudo apt install docker.io docker-compose docker-buildx git-core vim-
If you want a slightly nicer, GUI-driven text editor, many are available and I encourage you to shop around (RIP Atom). A fairly prolific standard in the industry is vscode, which is available for free in most OS app stores - for Ubuntu we can install it via its snap:
$ sudo apt install snapd
$ sudo snap install code --classic
sudo every time):
$ sudo groupadd docker
$ sudo usermod -aG docker $USER
$ newgrp docker  ## run this in each new terminal until you reboot
Now, as mentioned above, Rails 7 comes with a lot of default stuff for Docker that is worth using (especially when initialising Rails with database, CSS and JS options),
which culminates in it overwriting the initial configuration we give it (much like gem config).
This means that we'll need to provide some sacrificial config for Docker to allow us to run our rails new generator in a container.
Their sacrifice will almost certainly be worth it, though.
Before we worry about any of this, though, let's start with the basics - a home for our future rails app's codebase and some temporary gem config. Let's set up our workstation's local directory for our app:
$ mkdir -p ~/projects/dockerific_rails_app  ## create the app dir
$ cd !$ ## change into the directory (!$ means last argument)Gemfile in it so we can install Rails in the container:
In order to use this file in a container, we'll need to tell Docker where to use it - we do this via aGemfilesource 'https://rubygems.org' gem 'rails', '~> 7.1.3'
Dockerfile.
We'll specify the latest available ruby image, create a temporary directory on the container to put the Gemfile in
and install Rails via bundler:
Again, this file is only a temporary configuration and will be overwritten by Rails when it generates the basic application codebase.Dockerfile## set latest ruby image FROM ruby:3.3 ## update package repos RUN apt-get update ## copy local Gemfile into container ADD Gemfile /dockerific_rails_app/Gemfile ## set temp dir as default WORKDIR /dockerific_rails_app ## install rails via bundler RUN bundle install
With this done, we can move onto our final sacirifical config file; docker-compose.yml.
All we need to do here is set our local app directory as the build context and link it with the temporary directory we've set up on the container in our Dockerfile:
docker-compose.ymlversion: "3.1" ## set version with best Docker compatibility services: app: ## container reference build: context: . ## use current dir (local app dir) dockerfile: Dockerfile ## use our sacrifical Dockerfile volumes: - .:/dockerific_rails_app ## link local app dir with container temp dir
Now for the clever bit - with our (temporary) prerequisite config files in place, we can run rails new with any options we need inside the container we've configured
by passing it through docker-compose run:
$ docker-compose run app rails new . -f -d postgresqlapp service as defined in our docker-compose config
and initialising a new Rails app within it in the directory that is linked to our local app folder - this means that all the lovely files created by the generator are accessible to us locally!
We can check this by just running
ls in our local app directory:
$ ls
Note that we are passing a couple of important options to the rails new generator:
-fforces any file overwrites, allowing Rails to overwrite theGemfile&Dockerfile.-
-dallows us to specify the database type, providing a lot of automatic configuration for PostgreSQL and meaning we can start as we mean to go on by using something that isn'tsqlite!
-c and -j respectively
- I haven't done so here as it's beyond the scope of what we're trying to achieve in this post.
Before we make any edits to our codebase to get it ready for its first real image,
we'll want to quickly clean up the temporary containers that Docker generated to run our rails new generator - we can do this by simply running:
$ docker-compose downRemoving dockerific_rails_app_app_app_run_977d3aef4866 ... done
Removing network to_do_list_default$ docker ps -adocker-compose down did not remove the container, we can manually remove it by passing either the container ID
or name to docker rm. i.e.
$ docker ps -a
CONTAINER ID   IMAGE                      COMMAND                  CREATED              STATUS                          PORTS   NAMES
3ff0eb62c202   dockerific_rails_app_app   "rails new . -f -d p…"   About a minute ago   Exited (0) About a minute ago           dockerific_rails_app_app_run_977d3aef4866
$ docker rm 3ff0eb62c202
3ff0eb62c202$ docker images
REPOSITORY TAG IMAGE ID CREATED SIZE
dockerific_rails_app_app latest cb7f89e7a007 37 minutes ago 1.07GB
ruby 3.3 dddf6b6befbf 2 weeks ago 989MB
postgres 16.2 b9390dd1ea18 3 weeks ago 431MBdocker image rm:
$ docker image rm dockerific_rails_app_app
First on our list is the docker-compose.yml, which we'll need to overhaul in order to use the new Dockerfile generated by Rails for our
app container, as well as set up the container using the latest postgres image for the database and some persistent storage for it:
The only other edit we need to make is to the database configuration (docker-compose.ymlversion: "3.1" services: db: ## database container ref image: postgres:16.2 ## use latest PostgreSQL container image volumes: - postgres:/var/lib/postgresql/data ## set persistent database storage environment: ## pass login details into container env POSTGRES_USER: postgres POSTGRES_PASSWORD: password app: ## application container ref build: context: . ## use local app dir dockerfile: Dockerfile ## use local Dockerfile generated by rails command: bash -c "rm -f /tmp/pids/server.pid && bundle exec rails s -b '0.0.0.0'" ## start rails server volumes: - .:/rails ## default rails container app dir environment: RAILS_ENV: development ## set development env ports: - "8008:3000" ## allow us to access app on port 8008 depends_on: - db ## link to db container volumes: postgres: ## setup persistent db storage volume
config/database.yml),
where we'll need to provide the host and authentication details we've set up above in order for the application to be able to interact with the database container:
config/database.ymldefault: &default adapter: postgresql encoding: unicode host: db username: postgres password: password pool: <%= ENV.fetch("RAILS_MAX_THREADS") { 5 } %> development: <<: *default database: dockerific_rails_app_development test: <<: *default database: dockerific_rails_app_test production: <<: *default database: dockerific_rails_app_production username: dockerific_rails_app password: <%= ENV['DOCKERIFIC_RAILS_APP_DATABASE_PASSWORD'] %>
With our edits made, we can now finally trigger the first legitimate container image build of our app via docker-compose:
$ docker-compose buildDockerfile (a solid half gigabyte storage saving):
$ docker images
REPOSITORY                 TAG       IMAGE ID       CREATED          SIZE
dockerific_rails_app_app   latest    420e6a50d744   17 seconds ago   502MB
The last thing we'll need to do before testing our barebones Rails app is create the database inside the container we created for the purpose. Because we've already configured the containers to be able to interact, and set up the application to use PostgreSQL inside the database container, we just need to run the usual
db:create job using a similar run of docker-compose as we've used before:
$ docker-compose run app bundle exec rails db:createCreating network "dockerific_rails_app_default" with the default driver
Creating volume "dockerific_rails_app_postgres" with default driver
Creating dockerific_rails_app_db_1 ... done
Creating dockerific_rails_app_app_run ... done
Attaching to dockerific_rails_app_db_1, dockerific_rails_app_app_1
Created database 'dockerific_rails_app_development'
Created database 'dockerific_rails_app_test'docker-compose handles all of the dependent acitivities for us, such as the network for the containers
as well as the storage volume for the database container, as well as creating and linking the containers themselves.
This works in reverse as well, which we'll do now quickly to tidy up and set the stage for our first grand test:
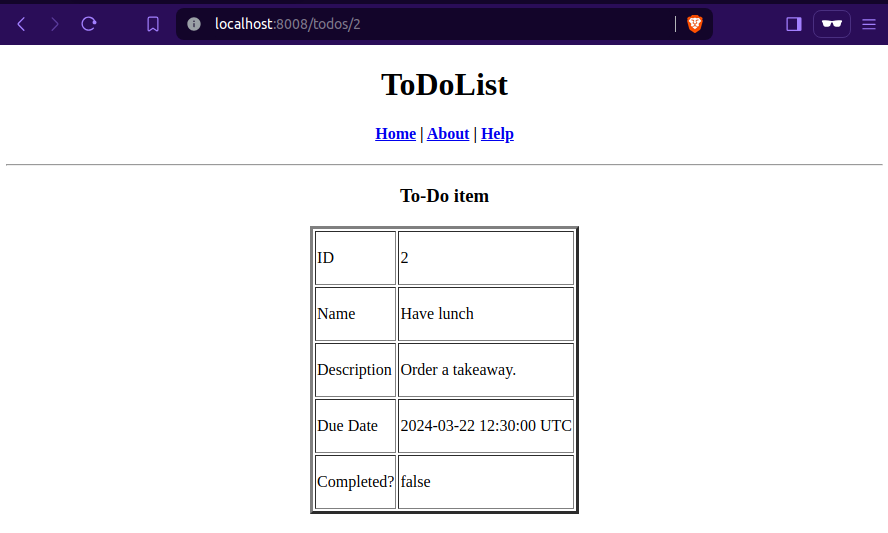
$ docker-compose down$ docker-compose uphttp://localhost:8008

STDOUT of the containers, meaning we can see all of the output created by rails server that
will be a great help during future debugging efforts!
If you want a clean terminal to work from, you can instead bring up the containers in a detached state using:
$ docker-compose up -ddocker-compose down to bring them back down when needed.
With this done and our app ready to see some love, it is definitely a good idea to push to a GitHub project!
$ git add -A
$ git commit -m "Initialised Rails 7 app in Docker"
$ git branch -M main
$ git remote add origin git@github.com:{{USER}}/{{PROJECT}}.git
$ git push -u origin main
From here you are good to carry on developing the app as you would normally, but remembering to run any installations or rails commands via docker-compose,
e.g.:
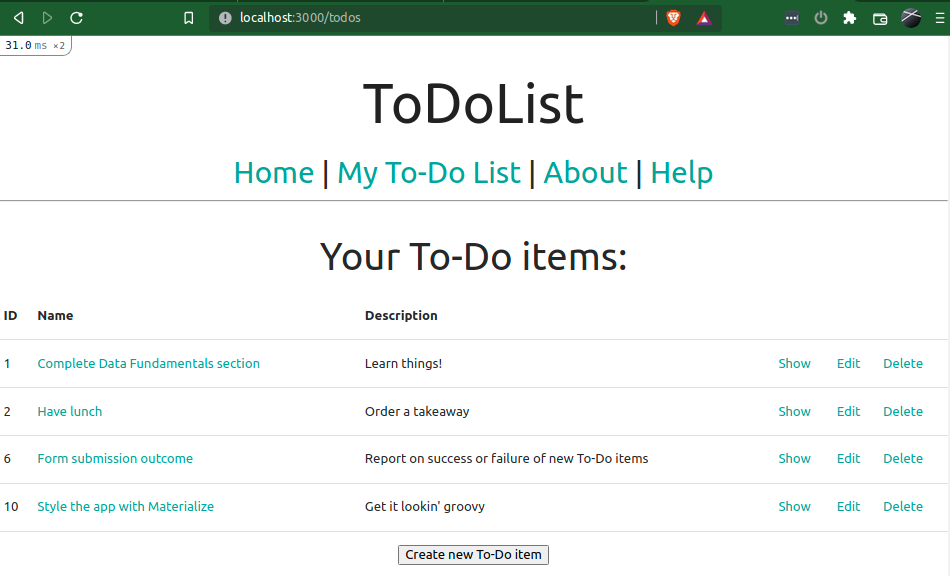
$ docker-compose run app bundle exec rails generate scaffold Things name:string description:text
$ docker-compose run app bundle exec rails db:migrate
$ docker-compose run app yarn add materialize-css material-iconsyarn
will also require a rebuild before they will display correctly - again, a shorthand for that is happily provided by the utility:
$ docker-compose down
$ docker-compose up --build
Comments
Post a Comment