[ToDoList] Deploying the App
With our basic app built and refactored, the final step is to get it somewhere on the internet so we can show it off to everyone.
This is called deploying, and will run our app's production environment to serve it to the wider web.
In this instance we are going to deploy our app to Heroku,
which offers a quick and easy process with a reasonable computing power, and all for free!
The first thing we will need to do is create an account on the Heroku website using handy link on the home page:

and then fill in the registration form, choosing Hobbyist as your role and Ruby as your preferred language:

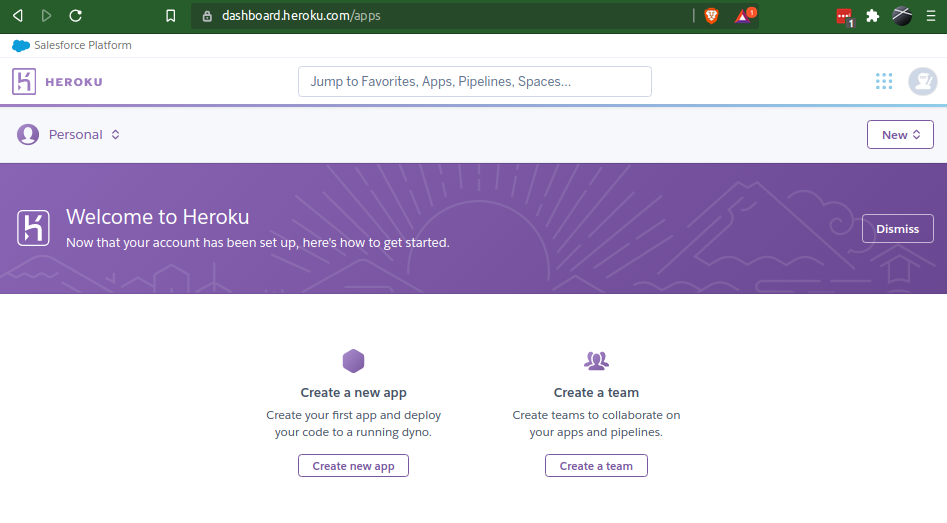
With this done, you'll simply need to confirm your account via email and set your password in the link it provides you with, initialise your account and finally fill in a disclaimer before you are greeted with your Heroku Dashboard:
With our credentials now sorted, we can retreat from horrible graphical interfaces and go back to our lovely command-line one.
Heroku offers a huge variety of functionality from their CLI package including, helpfully, everything we need to do to deploy our app.
All we need to do first is install the package!
Ubuntu's native package repository (APT) doesn't yet contain the Heroku tools, however we can easily get it via Snap:
$ sudo apt install snapd              ## install snap if you don't have it already
$ sudo snap install heroku --classic ## install Heroku pkg$ heroku login
Now we are logged in, our final authentication action will be to provide Heroku with the SSH key that links to our GitHub account. We can do this by running:
$ heroku keys:add
Before we can actually get Heroku to serve our app, we will need to prepare it for deployment to a production environment.
This chiefly entails deciding what database we will use in production,
configuring the credentials for this database in the app config and
adding the required gems to allow our app to interact with it.
Luckily, for Heroku at least, this process is fairly painless and only requires a few steps to complete.
You may remember that, because we did not specify a database when we ran rails new,
our app currently runs using sqlite. As stated previously, this is absolutely fine for development and test environments,
however we need something more robust when we deploy to production - Heroku will not actually allow you to use an sqlite database.
Instead we will choose a reputably easy but stable alternative: postgresql.
Firstly, let's allow our app to use the corresponding gem so it can interact with the new database.
Head into your Gemfile and cut the current line that specifies the sqlite3 gem:
gem 'sqlite3', '~> 1.4' ## Your Gemfile may have a different versionThis group likely already exists in your
Gemfile, in which case you can just add it into the group - if it doesn't, create it now:
group :development, :test do
  ## existing gems will be here if the group already existed
  gem 'sqlite3', '~> 1.4'
endpostgresql gem (pg)
to install only when installing dependencies for the production environment:
group :production do
  gem 'pg'
endGemfile.lock file.
If you installed all the packages from the Dev Environment Setup section then this will work regardless,
however let's adopt good practices now and save our development workstation some aggro by
running our bundler for only non-production gems:
$ bundle install --without productionGemfile.lock afterwards,
that it has still populated an entry for pg even though we haven't actually installed it locally!
Our app now knows about the postgresql gem, but it doesn't know that it needs to actually use it.
Our final step before deploying will be to change that in our database configuration file (/config/database.yml).
As before, this has groups denoting the different environments,
and you will see the default sqlite3 adapter currently in use for all three.
Heroku very helpfully handles all database credential shenanigans for us,
so all we need to do is specify the new adapter to use in production and
remove the current reference to the database file itself.
To achieve this, we should only have the following in the production section of /config/database.yml:
production:
  <<: *default
adapter: postgresqlpool and timeout options from the default group,
and our specification of the postgresql adapter will override the sqlite3 value in that group.
Our production database configuration is now complete and we should be ready to go, however there is one small thing left.
Heroku is a tad fussy with some Rails files,
and doesn't appear to appreciate its formatting of the shebang in the bundler executable.
This is the funky syntax at the top of most Ruby files that tells a shell how to interact with it,
and if you look at the top of the /bin/bundle file in our app you will see the following:
#!/usr/bin/env ruby2.7To do this, just remove the
2.7 at the end of the line, so your first line looks like:
#!/usr/bin/env ruby
With all this done, we are ready to begin setting up our Heroku stack and deploy our app.
However before we proceed to actually deploying, make sure you push your changes to GitHub!!!
To deploy our app, we will need to set up Heroku with an environment to deploy to (a stack), and then push our app to it from our GitHub repository. Heroku makes this terrifically easy from the command line, so let's start with generating the stack:
$ heroku create$ heroku rename nask-todolist
Unfortunately, and rather counter-intuitively,
the latest Heroku stack at time of writing (heroku-20) will not allow you to
install the latest Ruby version (2.7) on it and will therefore not run our app.
However we can quickly get around this by switching to the previous stack which will allow the latest Ruby:
$ heroku stack:set heroku-18$ git push heroku maingit push return, followed by the output of Heroku building the application
- it is worth watching this to ensure that all goes smoothly.
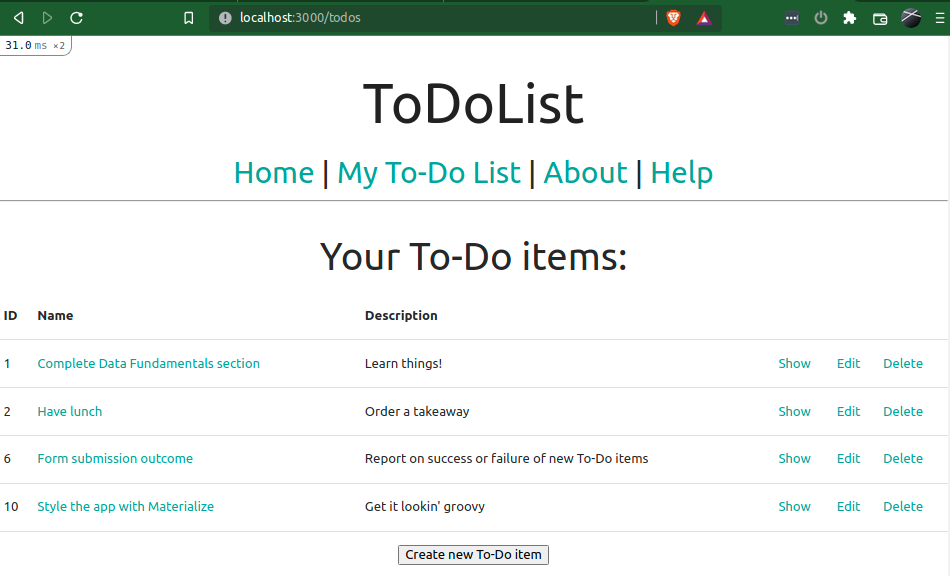
When the deploy process itself completes, you can navigate to your Heroku app's URL (i.e. https://nask-todolist.herokuapp.com/) and see your app in a production environment!

However you will see when you attempt to access your todos#index page that you experience an error:
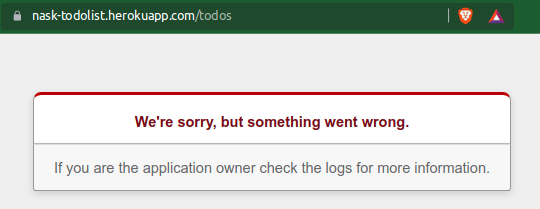
The particularly astute among you will know that this is because we haven't migrated our database - give yourself a shiny 🌟 if this is you!
In order to migrate our database table, we first need a database to migrate to.
We have already configured our app with everything it needs to run a postgesql database with Heroku and,
as stated previously, Heroku makes setting up this database incredibly easy.
In most cases, Heroku will have set one up for us - we can check this using:
$ heroku addonsheroku-postgresql instance in this list:
Add-on                                         Plan       Price  State
─────────────────────────────────────────────  ─────────  ─────  ───────
heroku-postgresql (postgresql-parallel-32898)  hobby-dev  free   created
└─ as DATABASE$ heroku addons:create heroku-postgresql:hobby-dev$ heroku run rails db:migrate

If you head back into your Heroku Dashboard, you will be able to see your app sitting in the App List:
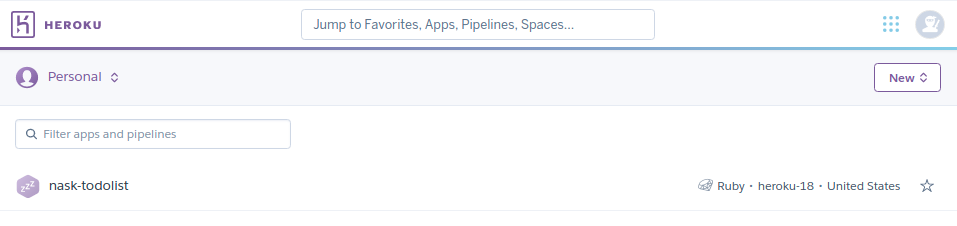
Clicking on this will show your app's overview including the add-ons (i.e. databases), dynos (containers / processes) and an activity log as well as links to other resources and configuration interfaces:

It is recommended that you peruse these pages and see what Heroku has to offer,
especially the Deploy tab which will allow you to connect up your GitHub repo directly so that
any pushes to your primary branch (i.e. main) will trigger an automatic deploy!
With Heroku now hosting our app in a production environment, you may be keen to see how / where else you can deploy it
(if not, I'm very lonely in my Rails-based excitement it seems...).
There are a number of other ways to deploy one's Rails application, each with varying associated difficulties, costs and computing power.
These include, but are not limited to:
- Heroku, obviously
- Google AppEngine
- AWS
- IONOS
- Local Apache Server
- And many more...
If you chose to develop your app in a GCE VM, you may have found it sub-optimal to deploy to Heroku,
however the AppEngine is a much more involved affar and it is useful to use Heroku first so you aren't put off of developing applications forever!
If you do wish to deploy your application to a Google Cloud Platform environment, a guide to achieve this can be found
here - please be aware that this is a much more complex process!
With our app deployed, you may be asking where there is to go from here?
However I have said multiple times that we built this app from scratch so we could appreciate the true power of Rails
- the next couple of sections will demonstrate how to unleash this power.

Comments
Post a Comment