[ToDoList] Materialize V: Other Pages
We have now made all of our Ruby action views look incredibly lovely and have the makings of a moderately sellable web application on our hands!
All we have left to worry about are those pesky other views: home, about and help.
Now, because we are almost a quarter of the way through the 2020s, gone are the days where we are expected to provide a home page for an application such as this. Even about and help pages are becoming significantly less common, as the average consumer seems to care little about who made the application they're using (that is, until something goes wrong and they'll want all of your personal information to contact you to fix it or punish you for not).
With that in mind, you would be perfectly within your rights to simply do away with these views entirely and alter your Rails routes to point the root route
at the todos#index view.
However, because I am a child of the 1990s and like these touches, and (more importantantly) because they provide an opportunity to use even more front-end goodness,
the last section of this Materialize bit will go through some options for how we can bring these remaining views to the same standard as the rest of our application.
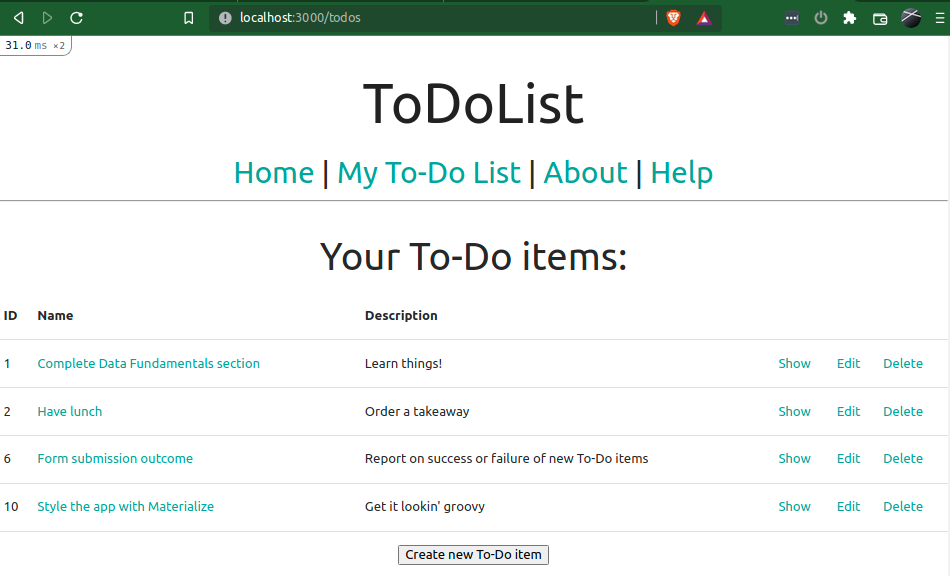
So, to start off with, we'll look at the home page. As we've given this its own fancy little icon link in the navigation bar, it would be hardly fitting to link to a page such as we have currently.
In recent years, in my experience at least, a huge majority of sites have gone for the large box with a background image and some text (a "jumbotron" if you're using Bootstrap lingo).
However I always though this looked a bit... static. A bit boring.
Once again, though, Materialize comes to our aid with offering something resembling a jumbotron but a bit more dynamic:
a carousel.
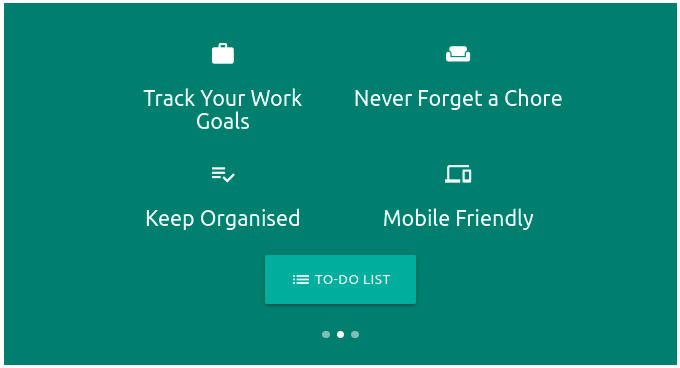
For my lovely home page, I'll use a full width carousel with indicators showing the current item, which can also interactively change the item.
For convenience, we'll put a persistent button in there as well, that links to the To-Do List that gives the app its name!
For our actual carousel items, we can be as creative (or not) as we like! To fulfill the basic contemporary requirements of a home page, we'll fill it with nice but ultimately useless information about its usage and construction. This will manifest in carousel items as follows:
- An introductory slide with our app's name and an accompanying icon, with a cringeworthy tag line underneath.
- Some examples of its usage and how it can enhance one's life experience, again with icons to reinforce the claims.
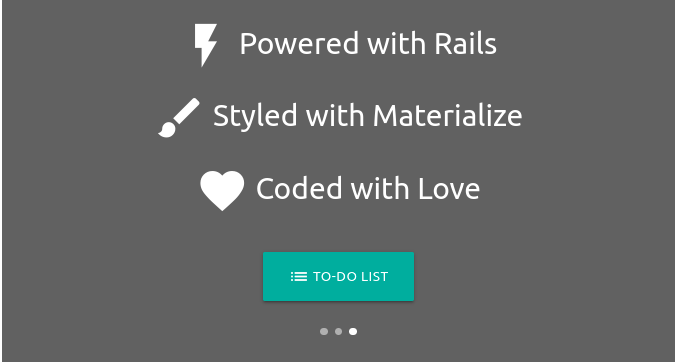
- A nice with details of what it runs on and the technologies enhancing it. Some icons, too, perhaps?
Unfortunately there is one obstacle in our way, being that the Materialize AutoInit JavaScript function isn't too great at finding the carousel elements and activating the functionality.
This is reasonably simply circumvented, though, by running M.Carousel.init against the carousel-slider element(s) in our page with the necessary options.
To do this, we'll head into our scripts partial and add the initialiser into the initToDoList function we wrote to run in each of the top blocks
- let's add this to the bottom of this function in /app/views/layouts/_scripts.html.erb:
  function initToDoList() {
    M.AutoInit();
    M.CharacterCounter.init(document.querySelectorAll('[data-length]'));
    M.updateTextFields();  // this also works around an issue with labels overlapping values
    M.Carousel.init(document.querySelectorAll('.carousel-slider'), {
      fullWidth: true,
      indicators: true
    });
};/app/views/pages/home.html.erb:
<div class="container">
  <div class="carousel carousel-slider center" style="margin: 10vh auto">
    <div class="carousel-fixed-item center">
      <%= link_to todos_path, :class => 'btn-large waves-effect' do %>
        <i class="material-icons inline">list</i> To-Do List
      <% end %>
    </div>
    <div class="carousel-item green darken-3 white-text" href="#one!">
      <h1 class="header">ToDoList <i class="material-icons large inline">done_all</i></h1>
      <h4>Where all your To's become Do'd</h4>
    </div>
    <div class="carousel-item teal darken-2 white-text" href="#two!">
      <div class="container">
        <div class="row"> </div>
        <div class="row">
          <div class="col s6">
            <i class="material-icons small">work</i>
            <br />
            <h5>Track Your Work Goals</h5>
          </div>
          <div class="col s6">
            <i class="material-icons small">weekend</i>
            <br />
            <h5>Never Forget a Chore</h5>
          </div>
        </div>
        <div class="row">
          <div class="col s6">
            <i class="material-icons small">playlist_add_check</i>
            <br />
            <h5>Keep Organised</h5>
          </div>
          <div class="col s6">
            <i class="material-icons small">devices</i>
            <br />
            <h5>Mobile Friendly</h5>
          </div>
        </div>
      </div>
    </div>
    <div class="carousel-item grey darken-2 white-text" href="#three!">
      <ul type="none">
        <li><h4><i class="material-icons medium inline">flash_on</i> Powered with Rails</h4></li>
        <li><h4><i class="material-icons medium inline">brush</i> Styled with Materialize</h4></li>
        <li><h4><i class="material-icons medium inline">favorite</i> Coded with Love</h4></li>
      </ul>
    </div>
  </div>
</div>carousel div so that it aligns correctly (I tried to get this work dynamically for ages, with 0 luck).
What we have added, 10vh, will add a margin of 10% of the entire viewport height so that we get a nice gap between the nav bar and our carousel:

Strangely, the carousel has no in-built functionality to move onto the next item. This functionality is available with the similar Slider component, however this is more designed for use with images and doesn't support the persistent button that we've added.
Luckily, the documentation for carousels tells us that we can trigger a change of the carousel item by running
next against the carousel element in JavaScript. If we add this functionality to a setInterval loop, then we can work around the problem without too much hassle!
We'll only need to add this to the event listener block at the top of our scripts partial - adding it to initToDoList, and therefore
both blocks, messes with the timings a tad.
So let's do this. Adding the loop to the appropriate block will solidify the below as our final /app/views/layouts/_scripts.html.erb partial for the Materialize section:
<script>
  document.addEventListener('DOMContentLoaded', function() {
    initToDoList();
    Array.from(document.getElementsByClassName('field_with_errors')).forEach(fixErrorDiv);
    setInterval(function() {
      M.Carousel.getInstance(document.querySelector('.carousel')).next();
    }, 4500);

  });

  if (document.readyState!='loading') {
    initToDoList();
  };

  function initToDoList() {
    M.AutoInit();
    M.CharacterCounter.init(document.querySelectorAll('[data-length]'));
    M.updateTextFields();
    M.Carousel.init(document.querySelectorAll('.carousel-slider'), {
      fullWidth: true,
      indicators: true
    });
  }

  function fixErrorDiv(elem) {
    if(elem.childElementCount === 0 || elem.firstElementChild.localName === 'label') {
      return;  // skip label divs or divs already done
    };
    var parElem = elem.parentElement;  // find the input-field div
    var elems = Array.from(parElem.children).map(extractErrDivContent).flat();  // grab everything in it
    parElem.classList.add('field_with_errors');  // add required class to input-field div
    parElem.replaceChildren();  // remove everything in input-field div
    for (let i in elems) { parElem.append(elems[i]) };  // put everything in the new div
  };

  function extractErrDivContent(errDiv) {
    if(errDiv.className === 'field_with_errors') {
      return Array.from(errDiv.children);  // extract contents of field_with_errors div
    } else {
      return errDiv
    };
  };
</script>
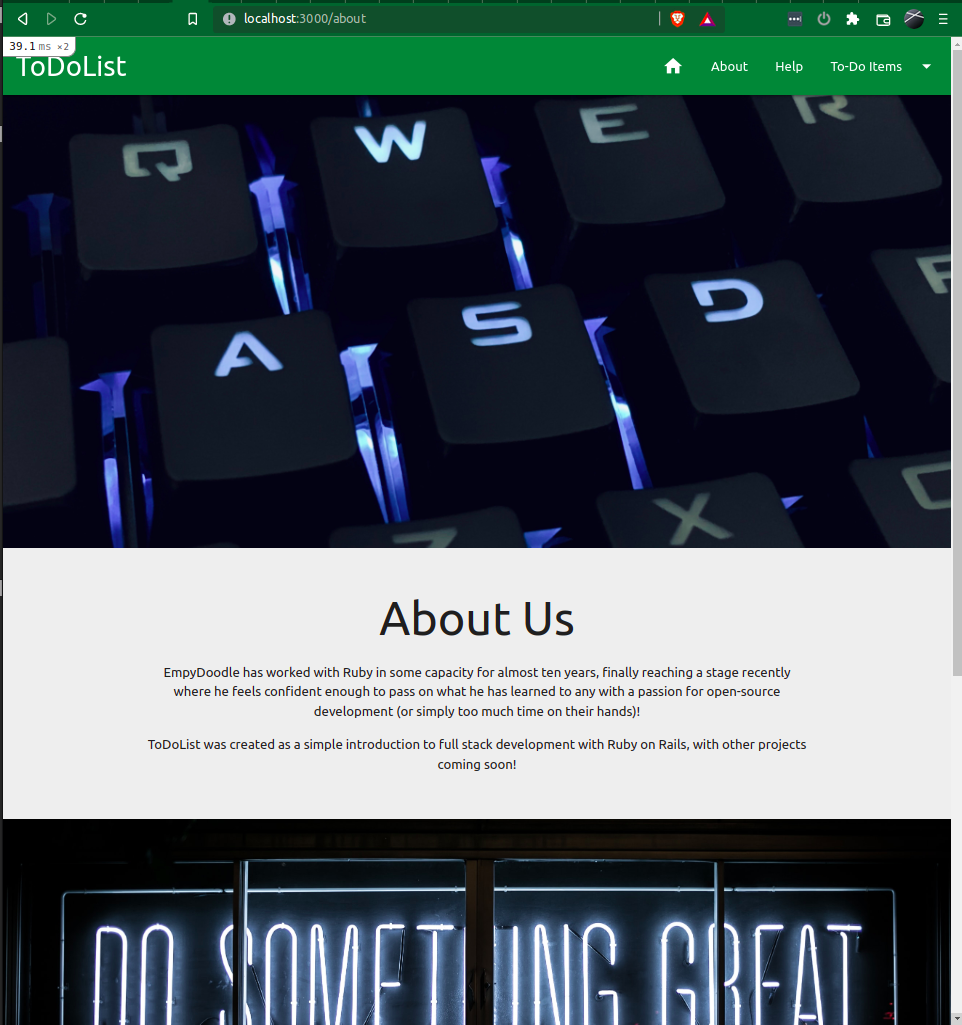
Next up we've got the About page.
Looking through the Materialize site we can see that a number of options might work here. However what draws me is the Parallax
feature which, aside from being very cool, gives us the perfect opportunity to get some images onto our app!
Opening Materialize's Parallax Demo shows us the HTML needed for a basic parallax, which we can alter to show our own images. You can use any images you like here - I have picked a couple from Unsplash [1, 2] which are totally free to use in any capacity!
With our images retrieved / downloaded onto our local filesystem, we simply need to drop them into /app/javascript/images:
$ cp /path/to/Downloads/*unsplash.jpg app/javascript/images/require.context line already added to our JavaScript manifest way back at the start of the Materialize section, this is all we need to be able to reference the files in ERB!
Now let's add our images into tha parallax template. With webpack, this is done using an image_pack_tag, which we can then pass the filename of the image we want to use,
the alt text, and any classes we need.
Materialize offers a very handy little helper class to quickly resize images based on the dimensions of the space that it is in by way of the responsive-img class
(described on the Media CSS page).
We will use this class so that we don't have to worry about resizing large images in our parallax.
With our images retrieved and dropped into the correct directory, let's head into our about view file and add in our parallax - /app/views/pages/about.html.erb:
<div class="parallax-container">
  <div class="parallax">
    <%= image_pack_tag('muhannad-ajjan-sL2BRR1cuvM-unsplash.jpg', :alt => 'parallax image 1', :class => 'responsive-img') %>
  </div>
</div>
<div class="section grey lighten-3">
  <div class="container">
    <div class="row center-align">
      <h2 class="header">About Us</h2>
      <p>
        EmpyDoodle has worked with Ruby in some capacity for almost ten years, finally reaching a stage recently
        where he feels confident enough to pass on what he has learned to any with a passion for open-source development
        (or simply too much time on their hands)!
      </p>
      <p>
        ToDoList was created as a simple introduction to full stack development with Ruby on Rails, with other projects
        coming soon!
      </p>
    </div>
  </div>
</div>
<div class="parallax-container">
  <div class="parallax">
    <%= image_pack_tag('clark-tibbs-oqStl2L5oxI-unsplash.jpg', :alt => 'parallax image 2', :class => 'responsive-img') %>
  </div>
</div>center-align helper
in the row div to bring the content to the center of the div.
The auto-init in our scripts partial will handle the initialisation of the parallax, so we only need to head into the home page in our browser (maybe using that icon link in our nav bar) to check out our funky new home page! (Scroll up and down to get the full effect).

Comments
Post a Comment