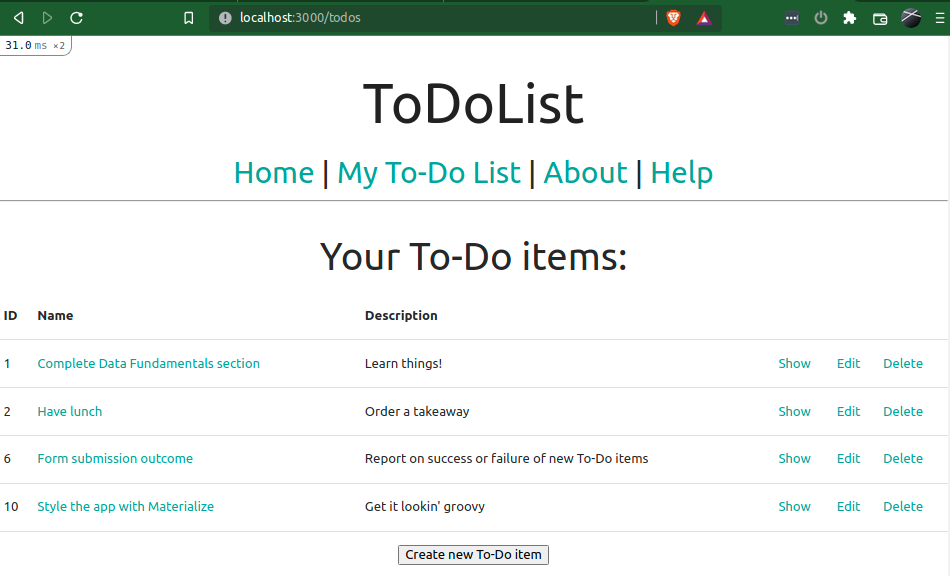
[ToDoList] Styling with Materialize
Materialize is an open-source front-end framework built to simplify Google's excellent
Material Design framework.
As such it follows the Material design concepts, but includes features such as column layout for ease of use - it's very beautiful and very clever!
This section and its subsections will detail the installation and usage of MaterializeCSS v1.0.0 via Webpack with our Rails v6.1.4.4 web app.
We will also be using the material icons set of icons to compliment our fancy new styling.
Unfortunately Materialize does not have official documentation for setup on a webpack / esbuild driven Rails application (6+) at time of writing
- there is plenty for the sprocket-happy Rails 5 platform though, the little tart.
However fear not, for with the usual levels of frustration, cursing and insomnia-based surplus of time (plus a lo-hot of Googling), I have got it to work with some effort.
So let's install Materialize for use with Webpack - this will include the relevant steps from the Styling landing page to create our new git branch and move our assets over to Webpack, but with the context of not wanting to preserve any existing styling (as Materialize will now handle that for us).
First of all, let's create our new repository branch so we can work and commit changes without affected the main branch that we know definitely works - I'm going to be unimaginative and call this branch
materializebut you can call it whatever you like:$ git checkout -b materializeNow we'll need to install the packages for materialize and material-icons using
yarn:
Both of these packages should appear as entries in our app's$ yarn add materialize-css material-icons/package.jsonfile if this completes correctly, and will generate ayarn.lock. These will allow our app to install these files again when we need to deploy it.Next we need to configure webpack to handle our styles - we'll start by creating a directory for our stylesheets in the default webpack directory which is oddly
/app/javascript:$ mkdir app/javascript/styles-
We will also create the directory for images:
$ mkdir app/javascript/images
-
We will also create the directory for images:
With the
stylesdirectory set up we can create our stylesheet in it and get it to importmaterialize-cssfrom the yarn package we installed -/app/javascript/styles/styles.scss:
(note that we don't have to specify exact filepath, as webpack already knows where to look for the yarn package [@import 'materialize-css';/node_modules]!)We need to copy the default master CSS stylesheet into the packs dir from the asset pipeline for Rails to play nicely:
As explained on Styling landing page, we need to copy this file as opposed to move it because, while we are not using$ cp app/assets/stylesheets/application.css app/javascript/packs/application.csssprocketsor the asset pipeline, Rails will not correctly compile assets ifsprocketsis improperly configured.Next we need to update the JavaScript manifest in the packs dir to import our new
styles.scssstylesheet, thematerialize&material-iconspackages, and the directory containting any images we might use in future -/app/javascript/packs/application.js(below the otherimporttags):
Note here that, as inrequire.context('images', true) import 'styles/styles' import 'materialize-css' import 'material-icons/iconfont/material-icons.css'styles.scss, we only have to specify the package name for materialize. However material icons isn't quite as clever so we do need to specify the specific file to point to.Finally, we will get Rails to import styles from our new area by swapping the
stylesheets_link_taginapplication.html.erbfor the correctstylesheet_pack_tag:<%= stylesheet_pack_tag 'application', media: 'all', 'data-turbolinks-track': 'reload' %>
If you now load up your site in the browser again, you will notice that the site takes a little while to load compared to normal.
This is because webpack is compiling the styles we have set up in order for the pages we request to use them
- in the terminal window running your rails server, you may notice the logging informing you of this:
[Webpacker] Compiling...
[Webpacker] Compiled all packs in /home/nask/projects/to_do_list/public/packs
With this working, let's quickly push these changes to GitHub so that we at least have the config set up in the repository:
$ git status                             ## check branch and files changed
$ git add -A                             ## stage the files for commit
$ git commit -m 'Installed Materialize'
$ git push origin materialize            ## push changes to the remote branch on GitHub

Comments
Post a Comment