[ToDoList] Docker Compose
We learned in the previous section how Docker is a fantastic tool with which to build and deploy applications, however has some inconveniences with developing these apps such as having to rebuild the image every time there is a code change as well as any development database entries being wiped.
This section will offer some relief against these two issues by using Docker Compose to build our application and make live code changes, as well as using a separate container to host our development database in PostgreSQL - this will encompass three main tasks:
- Back up and edit the
Dockerfilewe made in the previous section so our image can be built. - Create our
docker-compose.ymlin the app's root directory to create our web & postgresql database containers. - Back up and edit some our app's configuration (namely the
database.yml&Gemfile) to use the newpostgresqlcontainer.
First of all, let's get the hallowed package from apt:
$ sudo apt install docker-compose
Next we need to edit some of the configuration we set up in the previous section.
To avoid some inevitable confusion, let's first remove any existing images and containers we created in the section:
$ docker ps -a                                                          ## list containers
$ docker rm to_do_list_web                                              ## plus any other containers in the list above
$ docker image ls                                                       ## list images
$ docker image rm to_do_list:latest to_do_list:0.0.1 to_do_list:0.0.2   ## plus any other to_do_list images
First up is a quick edit of the Dockerfile we constructed in the previous section. Because we will be using a postgres database
instead of the standard sqlite one, we need to remove the lines we had that built the database and ran the migrations - failing to do this would result in a failed build!
First we will back up our existing Dockerfile:
$ cp Dockerfile Dockerfile.standardRUN lines that do the database bits from the Dockerfile - when complete, it should look like:
As a final point, we will back up this version of theDockerfileFROM ruby:3.3 RUN apt-get update -qq \ && apt-get install -y npm postgresql-client RUN npm install --global yarn n RUN n 16.4.0 ADD . /usr/src/to_do_list WORKDIR /usr/src/to_do_list RUN bundle install EXPOSE 3000 CMD ["bundle", "exec", "rails", "s", "-b", "0.0.0.0"]
Dockerfile too, so that we can easily switch between the standard and docker-compose versions when required:
$ cp Dockerfile Dockerfile.composeDockerfile amended, let's move onto where the magic happens.
Unlike in the previous section, where we were triggering image and container builds with the corresponding configuration using Docker's command-line tools,
docker-compose allows us to specify all of the configuration options in a separate config file: docker-compose.yml.
In this file, we will set up the two services we need in their own containers:
web- the application, which will be essentially the same as the container we've made previously.db- the database, which will contain a persistent PostgreSQL database for us to use with thewebcontainer.
Each of our service definitions will contain the options to build and configure each container as we need them, using the following keys:
| Key | Description | Used In |
|---|---|---|
image / build |
Where the container receives its image:
|
db / web respectively |
volumes |
Where the local filesystem location will map to on the container, meaning any changes we make locally will be reflected on the container automatically! | db, web |
environment |
Any shell environment variables required are declared here, in this case database authentication and Rails environment. | db, web |
command |
The command to run when the container is brought online, essentially replacing the CMD value in the Dockerfile.
(Note that we have added an additional command to remove the stored server process ID before the rails server initialisation to get round a known issue). |
web |
ports |
Where we were declaring port mappings using docker run before, instead we store them in config. |
web |
depends_on |
This ensures that a container doesn't run without its dependencies first being online - in this case, we don't want web to run unless db is online. |
web |
Using what we've learned above, we can construct our docker-compose.yml in our app's root directory:
One small thing we'll need to do off the back of this is to generate the local folder for thedocker-compose.ymlversion: "3.1" services: db: image: postgres:16.2 volumes: - postgres:/var/lib/postgresql/data environment: POSTGRES_USER: postgres POSTGRES_PASSWORD: password web: build: . command: bash -c "rm -f /tmp/pids/server.pid && bundle exec rails s -b '0.0.0.0'" volumes: - .:/usr/src/to_do_list environment: RAILS_ENV: development ports: - "8008:3000" depends_on: - db volumes: postgres:
db volume we have configured above:
$ mkdir tmp/db
$ chmod -R 777 tmp/db
The last thing we need to do before building our first image & containers with Compose is to configure the application's database connection to use the new database container.
Starting with the database configuration itself (in /config/database.yml), we will need to change any mention of sqlite to postgresql
and point the app to our db container, provide some authentication and encoding options as well as amending the database names for each environment.
Let's first back up our existing database config:
$ cp config/database.yml config/database.yml.standard/config/database.yml:
For good measure, we'll also back up this version for ease of switching between our original and the new version:database.ymldefault: &default adapter: postgresql encoding: unicode host: db username: postgres password: password pool: <%= ENV.fetch("RAILS_MAX_THREADS") { 5 } %> development: <<: *default database: to_do_list_development test: <<: *default database: to_do_list_test production: <<: *default database: to_do_list_production username: to_do_list password: <%= ENV['TO_DO_LIST_DATABASE_PASSWORD'] %>
$ cp config/database.yml config/database.yml.compose
Finally, we will need to edit our Gemfile to remove the now unnecessary sqlite3 gem, and move the pg gem
out of the production group and instead into the default list - first we'll back up our existing version Gemfile versions:
$ cp Gemfile Gemfile.sqlite
$ cp Gemfile.lock Gemfile.locl.sqlitegem 'pg'$ cp Gemfile Gemfile.pg
With our setup complete, we are finally ready to go! Admittedly there was a bit of faff getting to this point, but we can now use a beautifully simple command to allow Docker Compose to do everything it needs to do including:
- Pull the
postgresqlimage if it isn't already available locally. - Build the
webimage from our app's root directory. -
Generate the containers for
web&dbservices with the required configuration for volumes, ports, etc. - Start all of the service containers.
$ docker-compose upChecking our list of running containers in another terminal will confirm the magic we have just witnessed:
$ docker ps
CONTAINER ID   IMAGE              COMMAND                  CREATED          STATUS          PORTS                                       NAMES
f3fd3c8a6d9a   to_do_list_web     "bash -c 'rm -f /tmp…"   10 seconds ago   Up 9 seconds    0.0.0.0:8008->3000/tcp, :::8008->3000/tcp   to_do_list_web_1
ab7c8dce1c06   postgres:16.2      "docker-entrypoint.s…"   2 hours ago      Up 10 seconds   5432/tcp                                    to_do_list_db_1
Clever as you are, I'm sure you're wondering how our database is going to work as we removed the create and migrate commands from the Dockerfile.
Because the db container needed to be built before we could run either, we have had to let this run as is. Now, however, with the containers built, we can use a
docker-compose command to run this, specifying which service we need it to run on.
First we'll kill the running containers with a quick Ctrl + c, and then run the database commands as described:
$ docker-compose run web rails db:create
$ docker-compose run web rails db:migrateup:
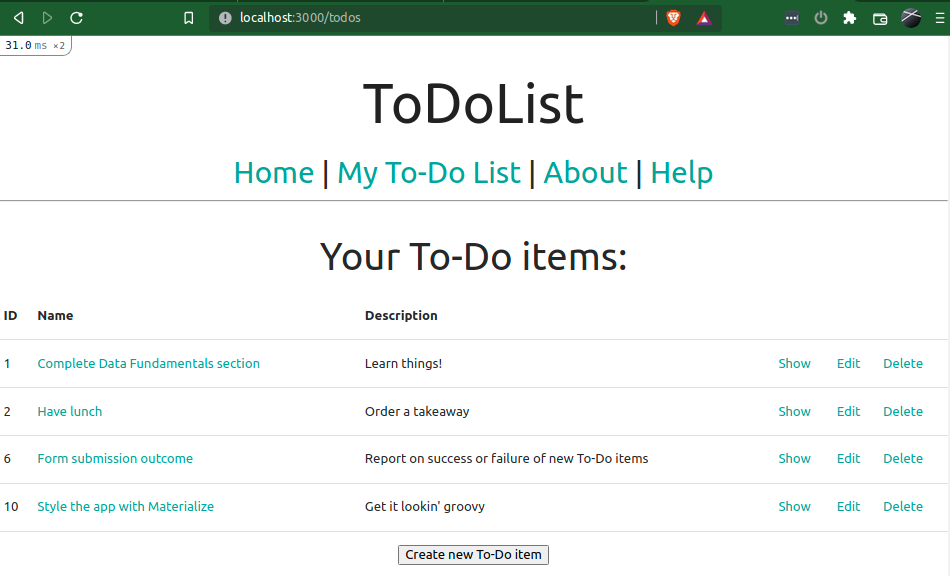
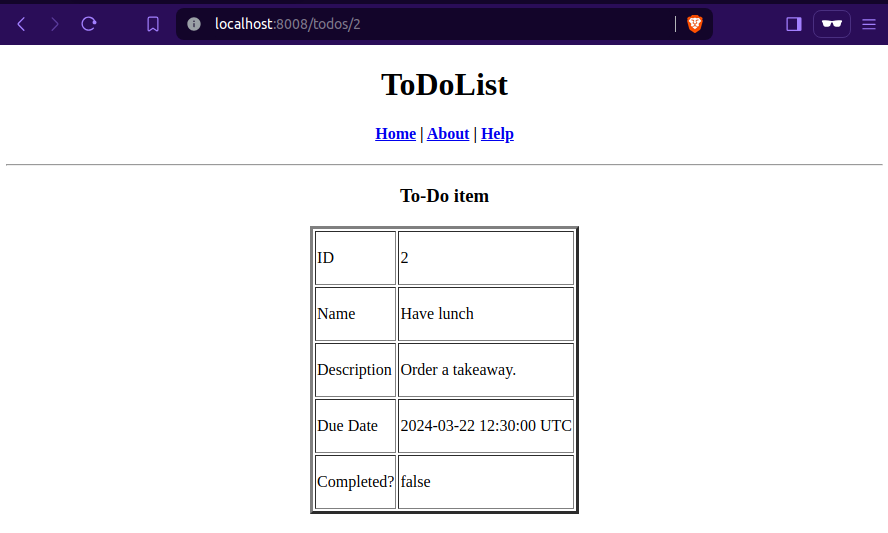
$ docker-compose upA quick form submission in your browser window will reveal full abilities to interact with our lovely new database container using our lovely new application container!

As far as general usage goes, Compose is even easier to use than vanilla Docker. As we've seen, a simple up function is all that is needed to start all of the app's service containers -
stopping these is also laughably simple:
$ docker-compose down
The one downside to Docker Compose in my experience is that, as we're not manually building new images every time we make a code change, we are not able to tag images in the same way as before.
However, because we are essentially working directly inside the container, the need for this is largely redundant and so we're only as worse off as when we were developing on local / virtual machines!
If need be, we can just tag new images using the manual method we saw in the previous section.
The only time we should need to rebuild an image is either when you have a working version that you want to tag, or when a change is made to our app's dependencies
(e.g. gems, yarn packages, etc).
In this case, all we need to do to trigger a rebuild of the image is simply to add a --build argument to the up command:
$ docker-compose up --build
This section, and its parent section, have only covered the basics of what is capable with Docker and docker-compose - there is an awful lot of incredibly clever stuff you can do with it
(for example, creating entire new apps in Docker without having to install Ruby on your local machine - see here!)
For now though, we will leave it here and use our new skills to create the best app we can in a reliably re-buildable environment! Let's begin this by pushing our changes up to GitHub:
$ git add -A
$ git commit -m "Docker-compose config for app"
$ git push origin dockerisemain branch!
| < [ToDoList] Dockerising the App | | | [ToDoList] ... > |
| Back | ||

Comments
Post a Comment